
Chapter 7 · Getting started · 5 min read
Importing data with the Import Wizard
On this page
The Import Wizard loads records into SAABI from a .csv file. Reach for it when you are moving a customer list, a product catalogue or a year of historical invoices across from another system. It also doubles as a fast way to key in a batch of records by hand: you fill a grid and import the lot in one pass. This chapter covers choosing what to import, getting your data into shape, and running the import.
Open it from the sidebar: Setup > Import Wizard, or through Quick Search — press Cmd/Ctrl + K, type Import Wizard and press Enter.
Choosing an import type
The page opens almost empty. A single Import Type dropdown sits at the top left, next to the prompt Set an Import Type.
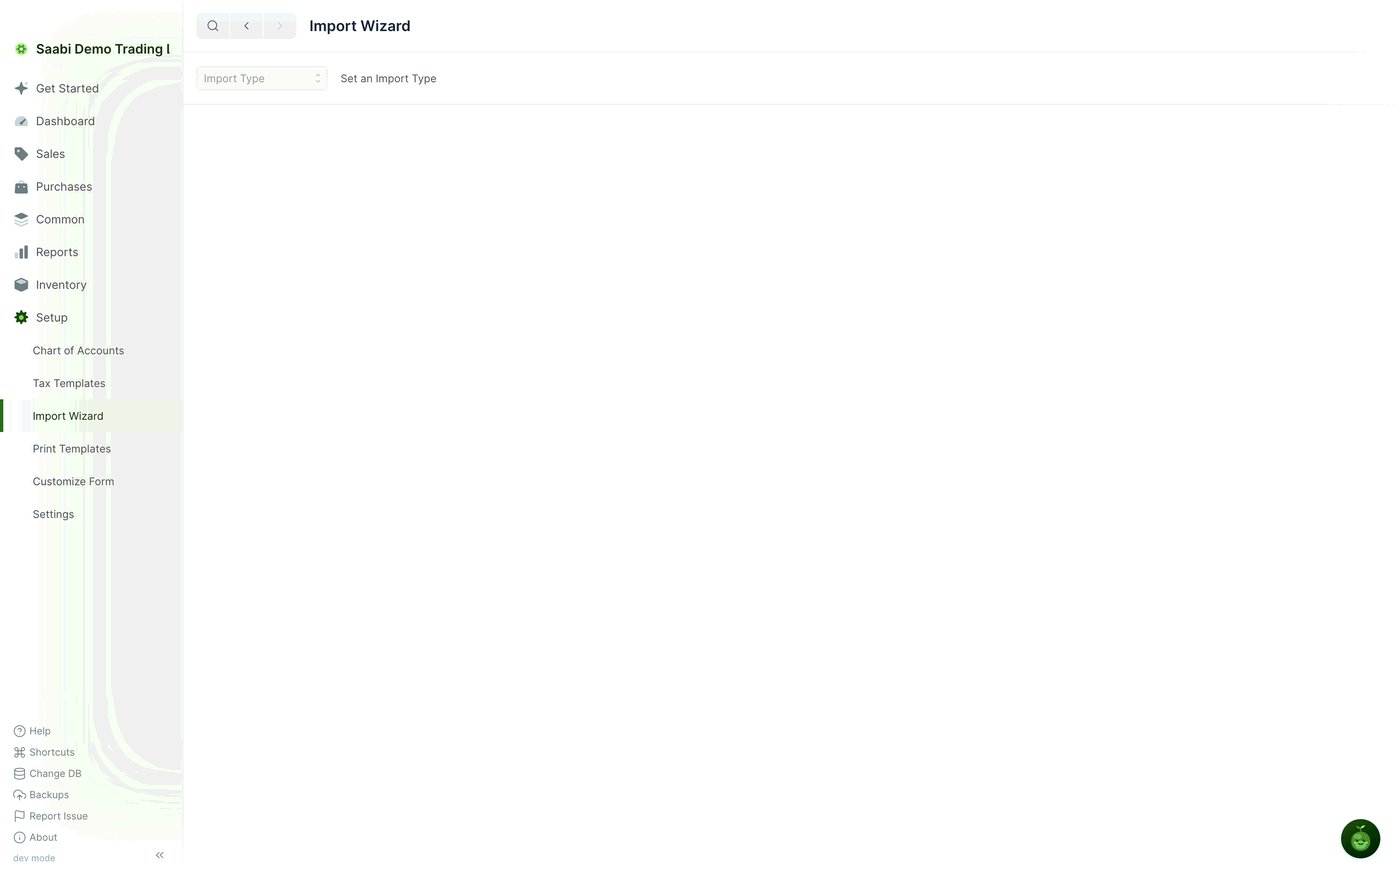
The import type decides what kind of record you are creating, and everything else follows from it: which columns are available, which are required, and what the downloaded template contains.
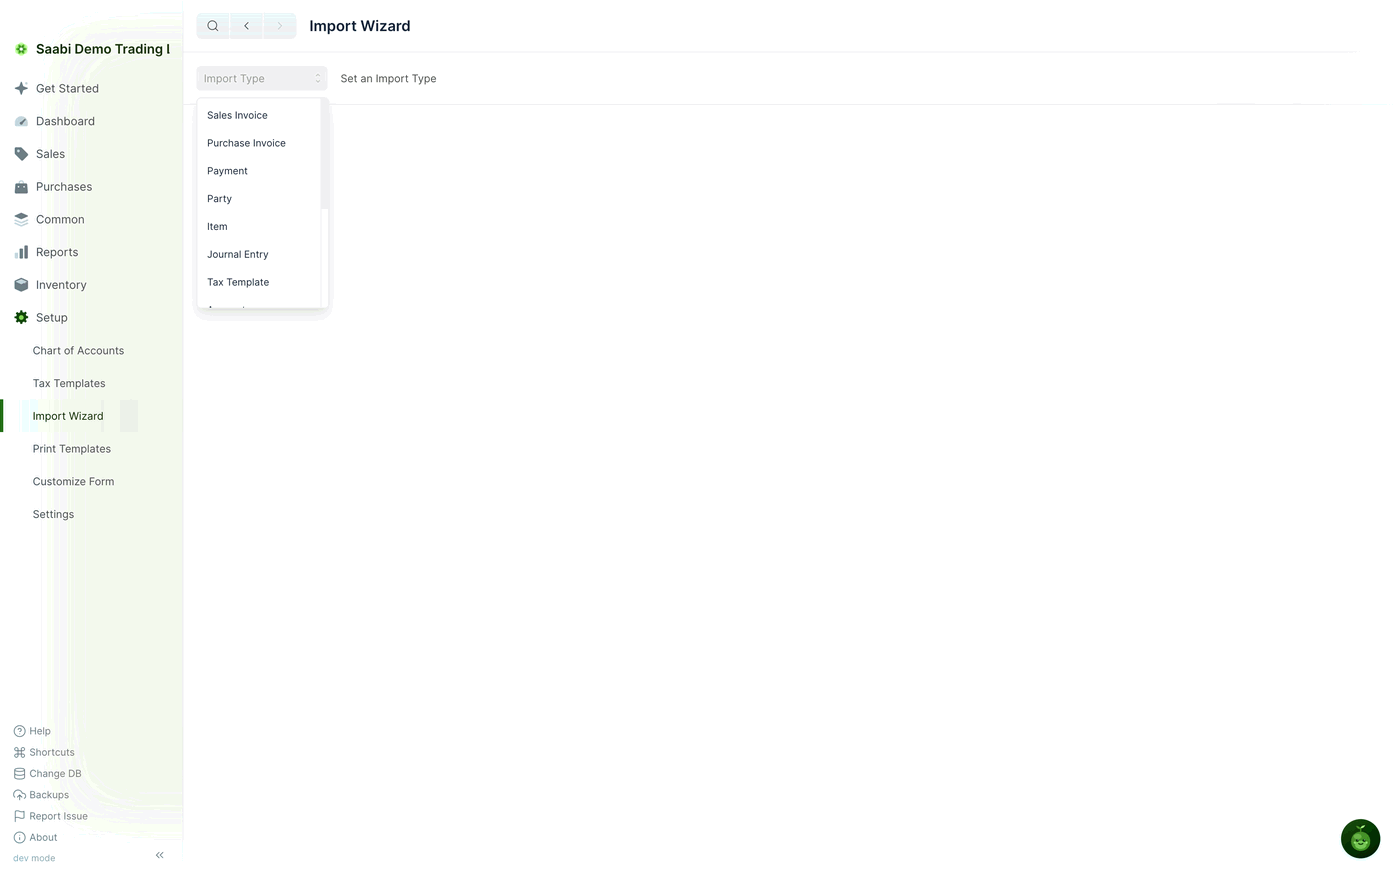
You can import sales invoices, purchase invoices, payments, parties, items, journal entries, tax templates and accounts, among others. To import customers, choose Party — customers and suppliers are both parties, distinguished by their role.
The column grid
Selecting a type reveals the rest of the page: a toolbar at the top right and a grid below.
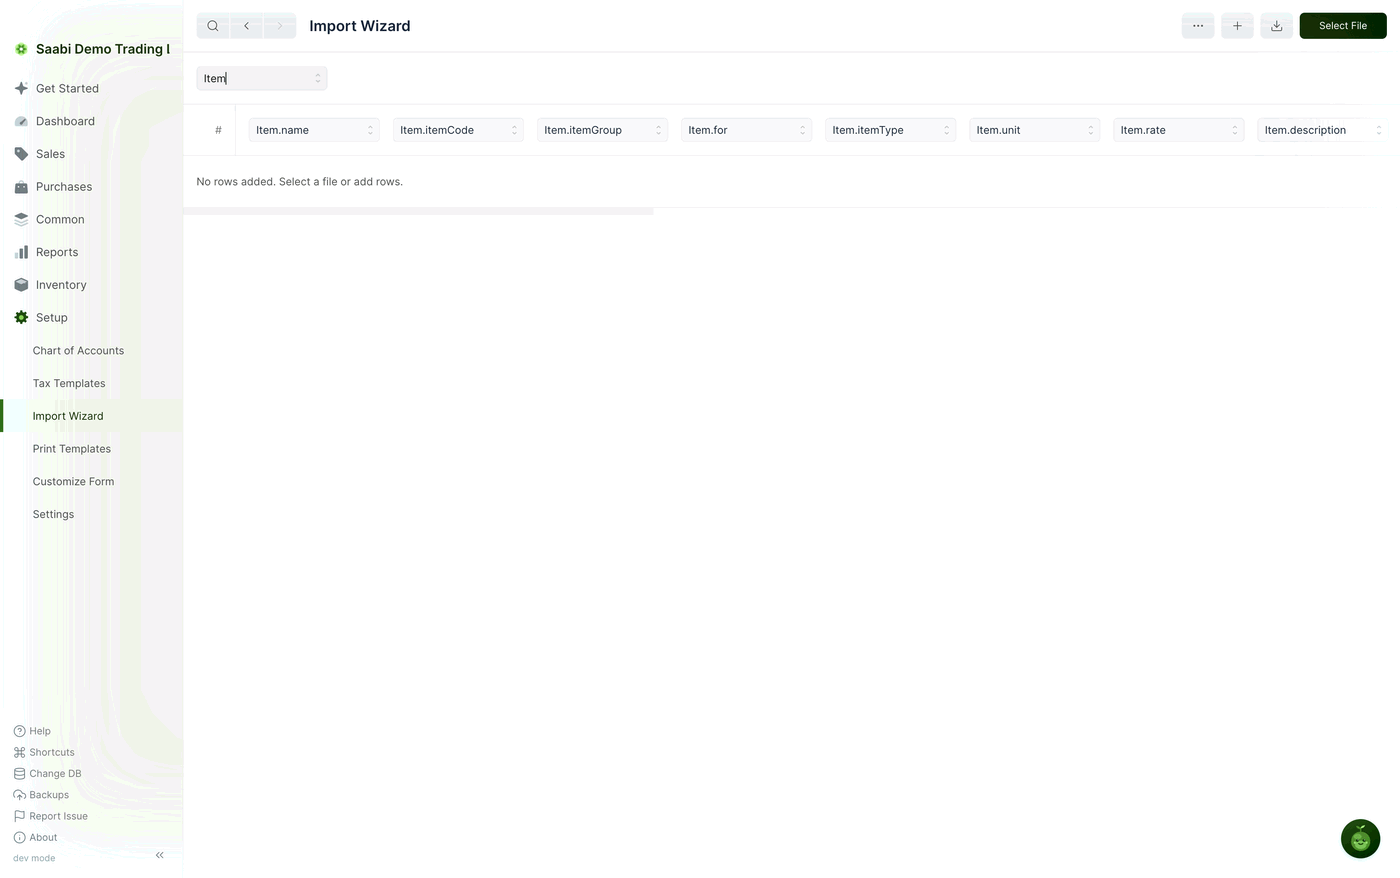
The grid has a numbered # column at the left and one column per field. Each heading is a dropdown showing the field that column maps to — Item.name, Item.itemCode, Item.rate and so on. Beneath them, the grid reports No rows added. Select a file or add rows.
These headings are the column assignment controls. A file using SAABI's own template is assigned automatically; any other file you assign yourself, by clicking a heading and choosing the field that column contains. Choosing None leaves the column out.
The toolbar at the top right holds four controls.
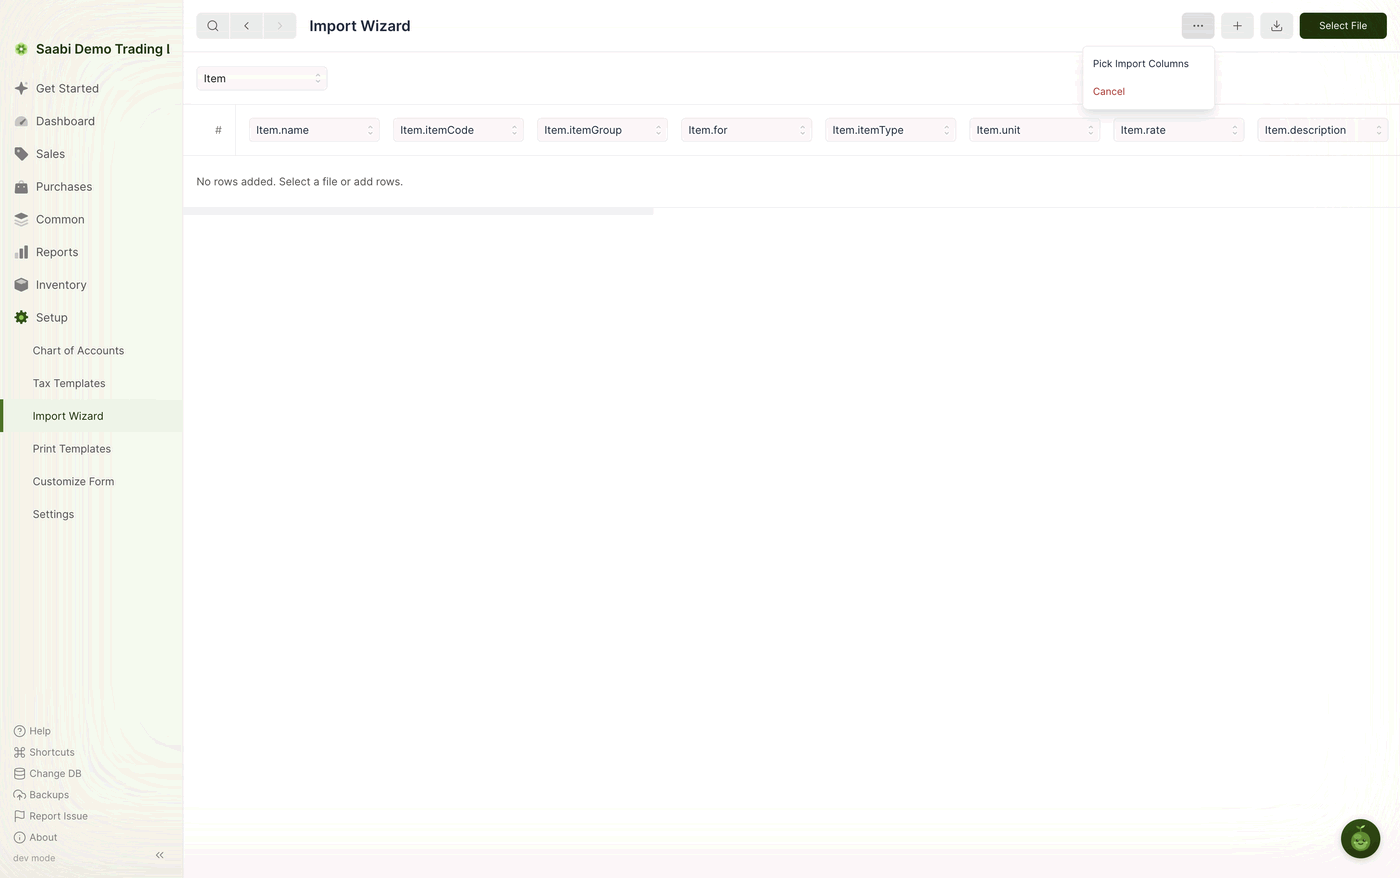
- … — a menu holding Pick Import Columns.
- + — adds an empty row to the bottom of the grid.
- The download icon — saves an import template as a
.csvfile. - Select File — opens a file browser to choose the
.csvfile to import.
Picking the columns
Before downloading a template, decide which fields you want. Click … and choose Pick Import Columns.
The dialog lists every field available for the chosen type, grouped by the record it belongs to — an item has its own fields in one group and its unit-of-measure conversions in another.
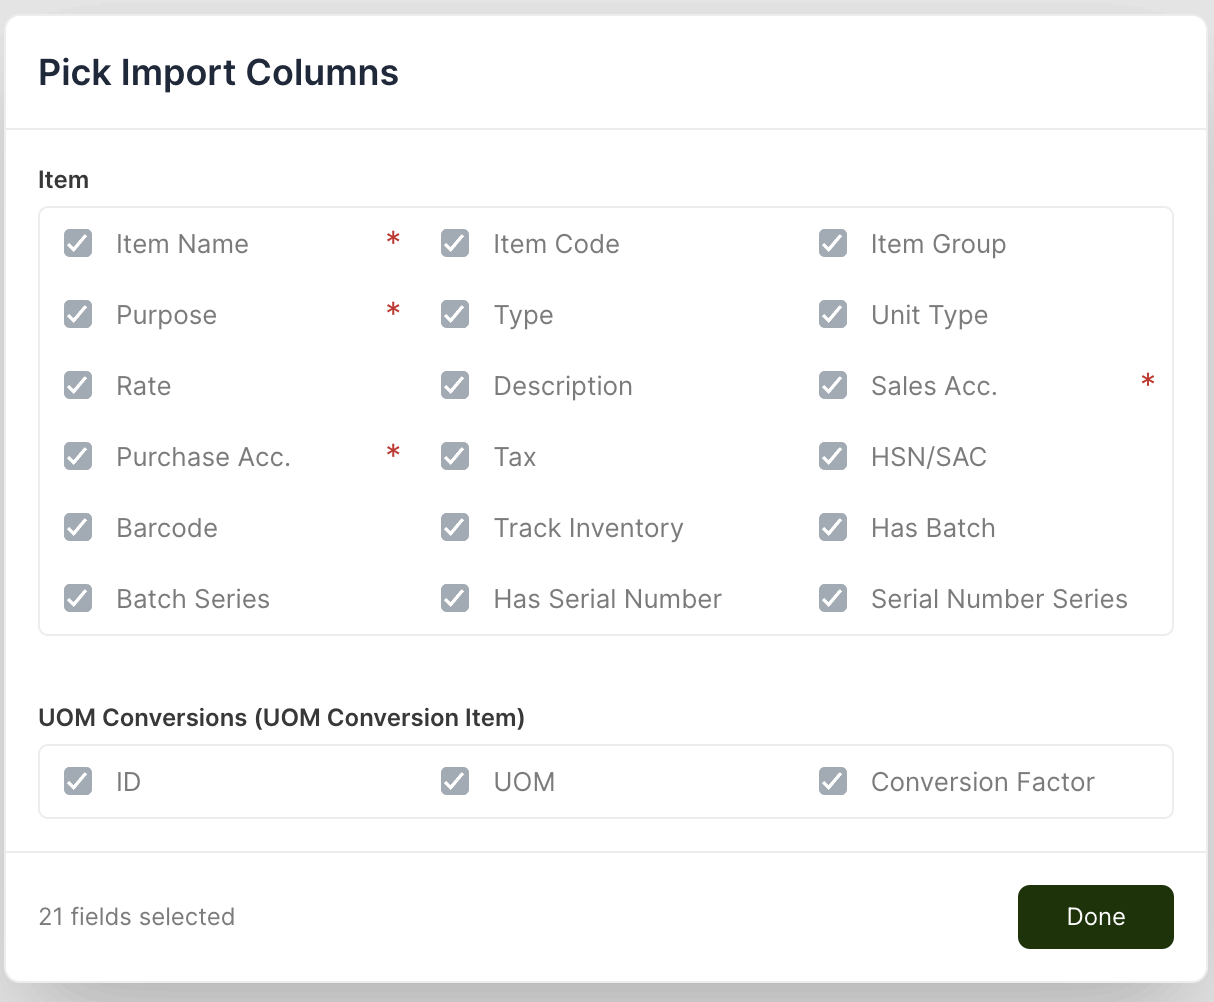
Fields marked with a red asterisk are required and stay ticked. You can untick any of the others.
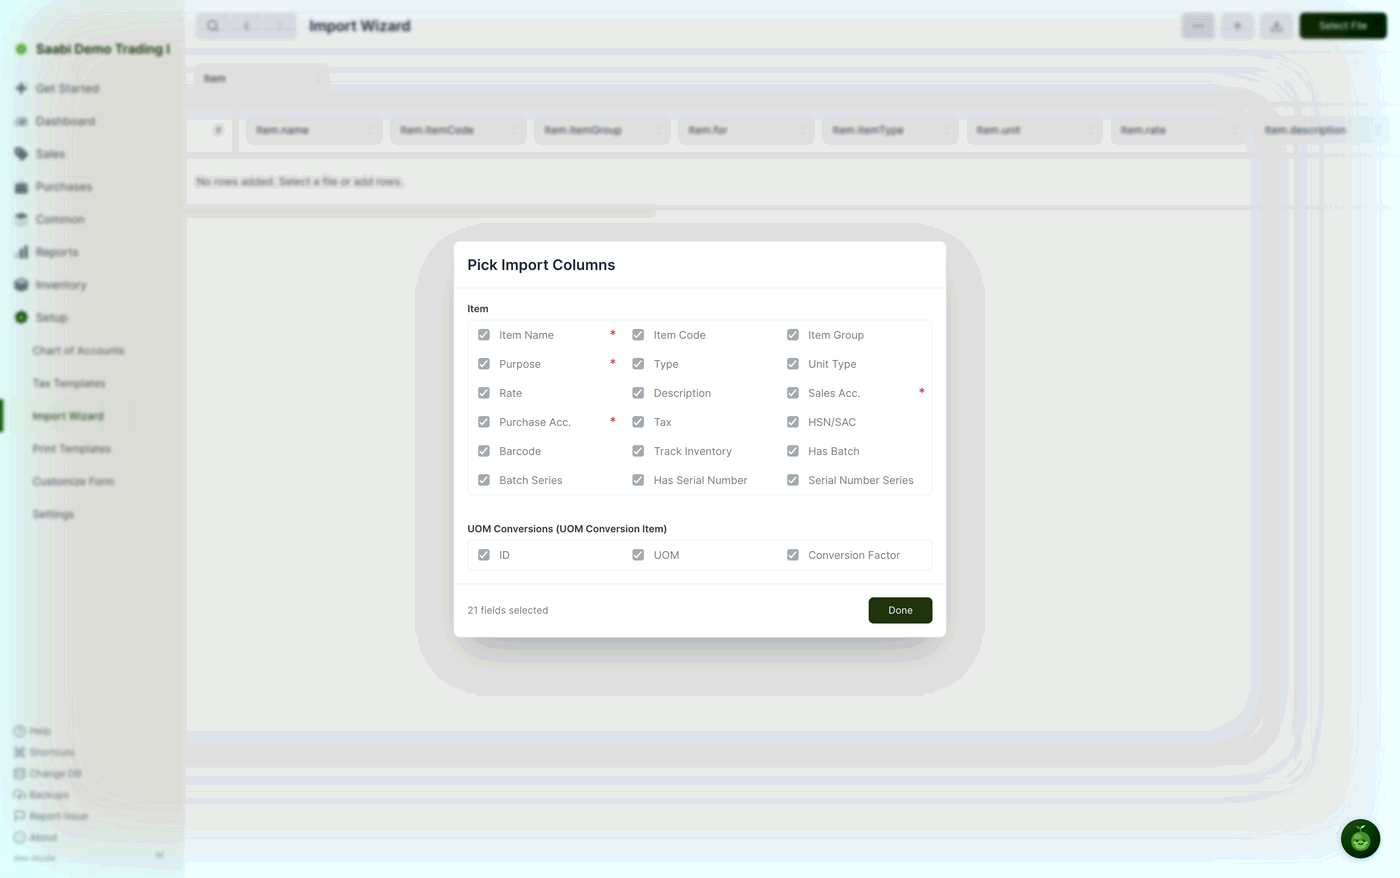
Unticking a field does two things: it removes the column from the template you download, and it stops that column being assignable in the grid. The count at the bottom left tracks your selection. Click Done to apply it. A template with eight relevant columns is far easier to fill in correctly than one with fifty.
Using a template
Click the download icon to save a .csv template. The file matches your column selection and carries three header rows.
- Entry type row — indicates whether a column belongs to the main record or to a child table inside it.
- Field label row — the human-readable name of the field, so you can tell what to type where.
- Field key row — the internal field name. SAABI reads this row to assign the columns automatically when you select the file. Keep it.
To use the template:
- Open it in your spreadsheet application.
- Enter your data beneath the header rows, one record per row.
- Export or save the sheet as a
.csvfile.
Important
Do not delete or reorder the header rows. Without the field key row, SAABI cannot assign the columns and you must set every heading by hand.
Selecting the file and checking the data
Click Select File and choose your .csv. SAABI reads it and fills the grid.
Read the grid before importing. A value SAABI could not convert — a date in an unexpected format, text in a numeric field, a reference to something that does not exist — is marked with a red border. Hover it to see the raw value, then correct it in place.
To remove a row you do not want, click its row number in the # column.
Entering rows by hand
The + button adds an empty row to the bottom of the grid, which you fill in directly.
This works without selecting a file at all: set the import type, add rows, type the values, and import. For twenty new items it beats opening twenty forms.
Running the import
When the grid looks right, start the import from the toolbar. SAABI creates the records and reports what happened, offering to take you to the new records or to clear the wizard for another batch.
If some rows failed while others succeeded, the wizard offers to clear the successful ones and leave the failures behind, so you can correct and retry without creating duplicates.
Importing records with child tables
Some records contain a table inside them. A sales invoice has a customer and a date, and the items table inside it has one row per line sold.
To import these, flatten the structure — one row in your file per child row — and follow three rules.
- Give every record a unique placeholder name, even if it would normally take its number from a number series. This tells SAABI which rows belong together.
- Put each child row on its own row in the file.
- Repeat the parent's values identically on every row belonging to that record.
Two invoices, one with two lines and one with three, therefore look like this:
| Invoice Name | Customer | Item (Table Row) | Amount (Table Row) |
|---|---|---|---|
| A | Lin | Bat | 100 |
| A | Lin | Ball | 50 |
| B | Andy | Pen | 200 |
| B | Andy | Pencil | 10 |
| B | Andy | Ink | 80 |
Important
Records with child tables are unforgiving of untidy data. If the parent values differ between rows that share a name, the import produces the wrong result or fails outright. Import a couple of records first and check them before running the full file.
Saabi Desktop User Manual 1.0 · covers Desktop 1.0.0 · Something wrong or missing? Tell us