
Chapter 54 · Configuration · 4 min read
Print templates
On this page
A print template decides what a printed or saved document looks like: which details appear, in what order, and in what style. SAABI comes with a set of templates for invoices, quotes, shipments and payments, so you can print a document that carries your logo and colours without designing anything. This chapter covers the template list, choosing a template when you print, the print settings that apply to all of them, and how to build a template of your own.
The Print Templates list
Navigate to Setup > Print Templates, or open the Quick Search, type Print Template and press Enter.
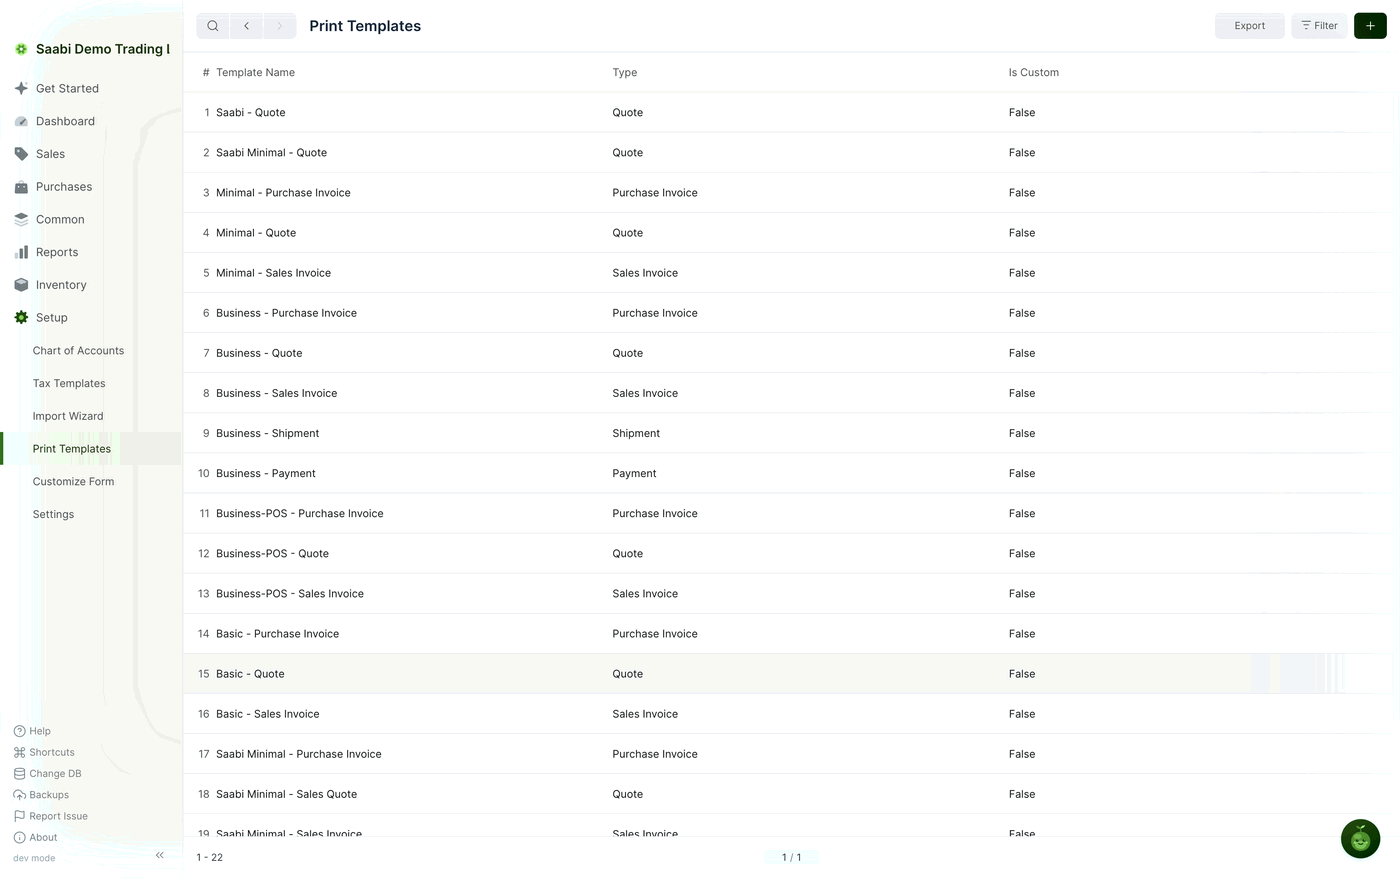
The list has three columns:
- Template Name — the name you pick from when you print.
- Type — the kind of entry the template is for: Sales Invoice, Purchase Invoice, Quote, Shipment or Payment. A template is only offered on entries of its own type.
- Is Custom —
Falsefor the templates that ship with SAABI,Truefor one you made yourself.
A new company comes with 22 templates, arranged in families that each cover several entry types:
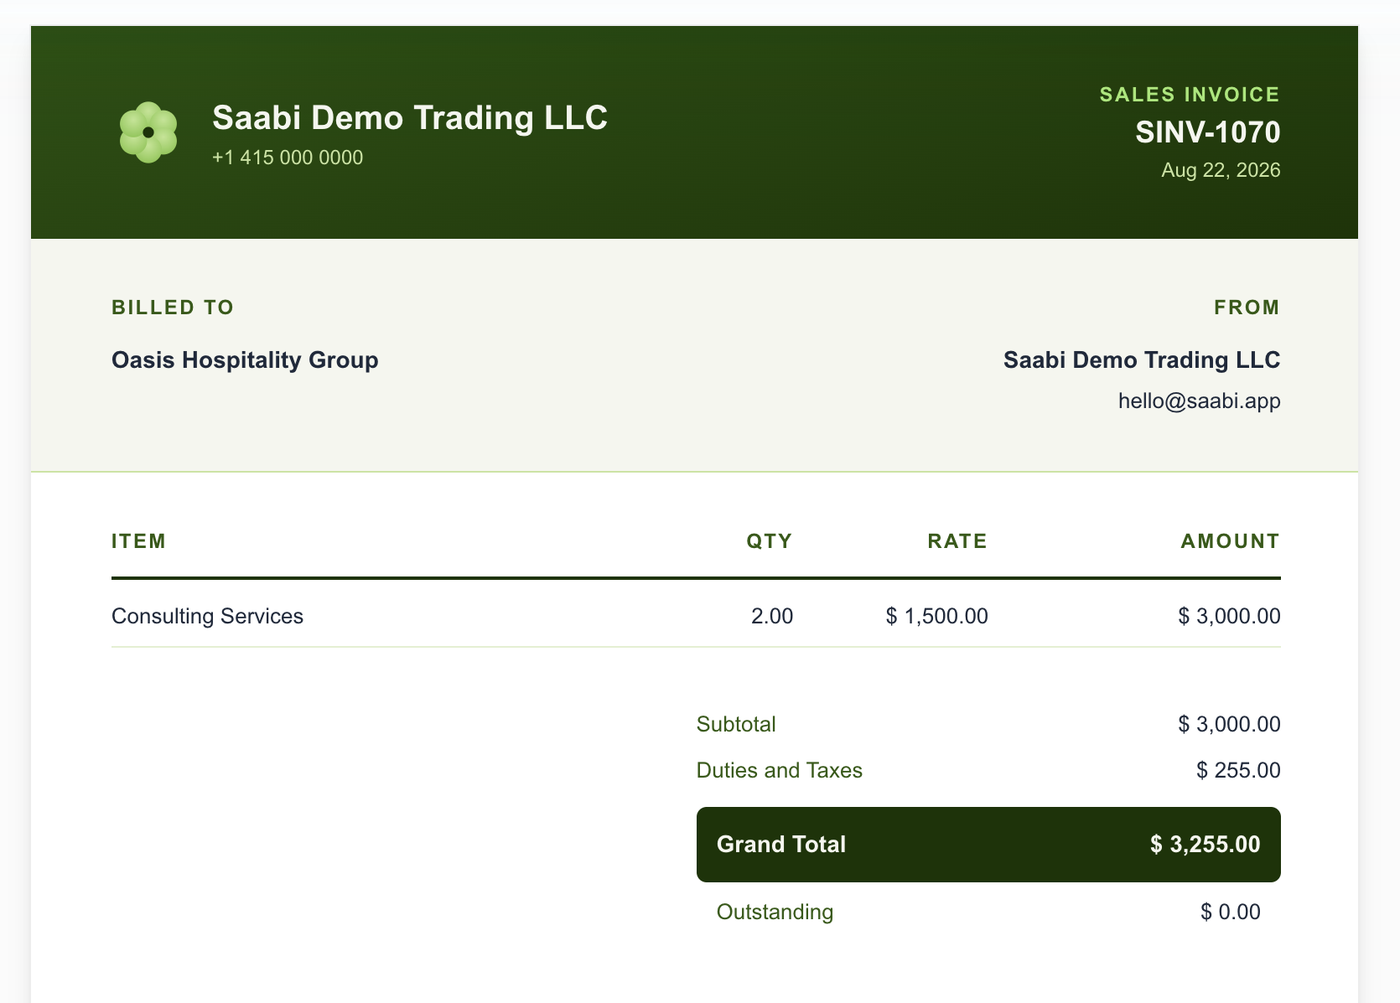
- Saabi — the standard SAABI design: a forest-green header band carrying the Saabi mark, your company name and phone number, then the billing blocks, the item table and the totals.
- Saabi Minimal — the same design with the header band stripped back.
- Business — a fuller business layout.
- Business-POS — the business layout sized for counter receipts.
- Minimal and Basic — plain layouts with little styling, useful when the document is going to be filed or scanned rather than sent.
Note
The built-in templates cannot be edited. To base your own design on one, open it, duplicate it, and edit the duplicate.
Printing an entry
- Open the entry you want to print.
- Click the print icon in the toolbar, or press
⌘ P(Ctrl Pon Windows and Linux). - Pick a template from the selector at the top left of the print view.
- Click Save as PDF to write a PDF file, or Print to send it to a printer.

The selector lists every template whose Type matches the entry you are printing. The preview below redraws as soon as you choose one, so you can compare designs before you commit. The ··· menu holds the print settings and the print size.
Print settings
Some of what appears on a document does not come from the template at all — it comes from the Print tab of Settings, and applies to every template you print with. Navigate to Setup > Settings and open the Print tab.
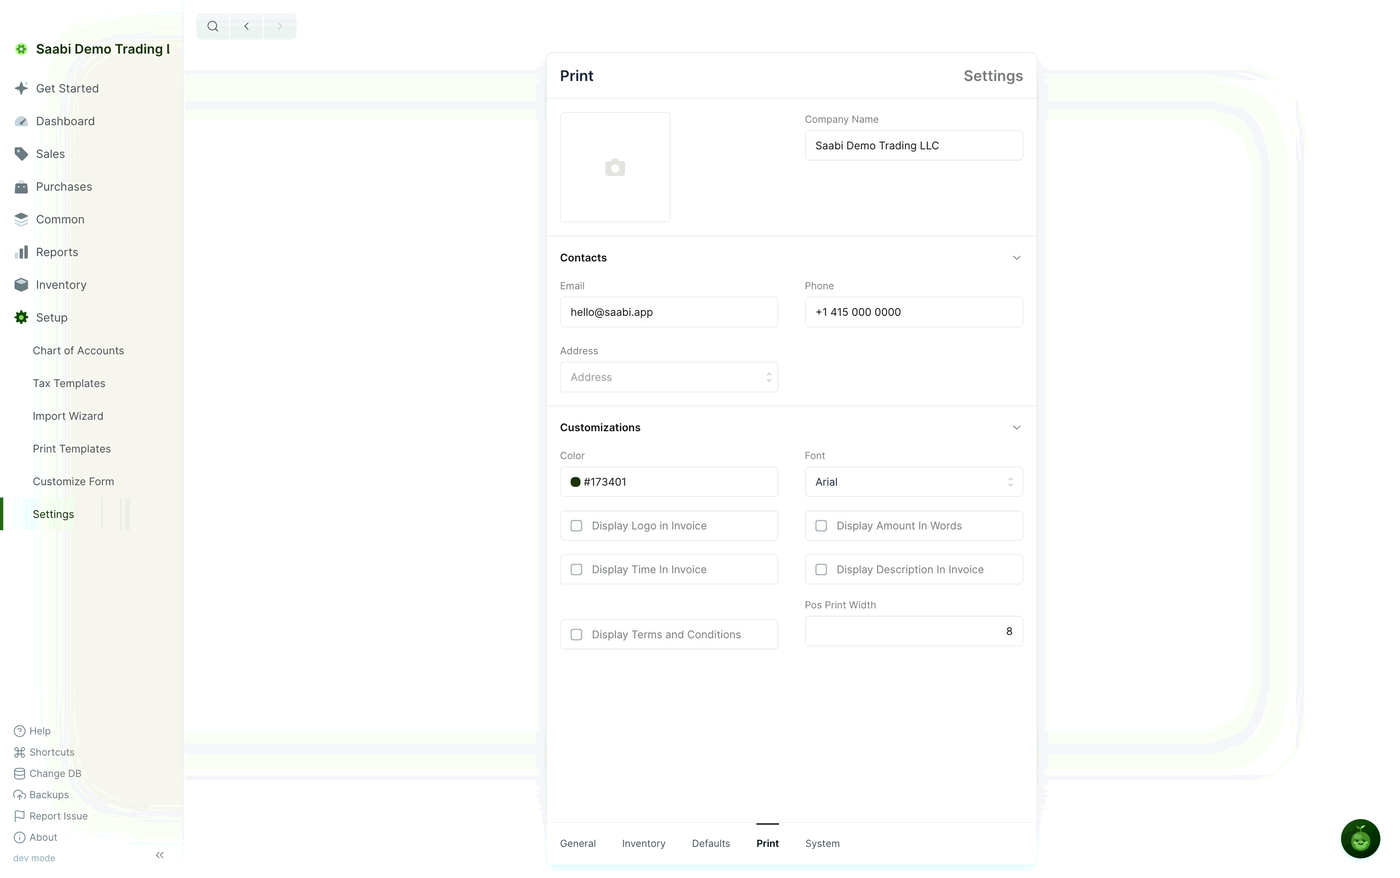
The logo box at the top left uploads your company logo, Company Name sets the name printed on the document, and Contacts sets the Email, Phone and Address printed in the from block.
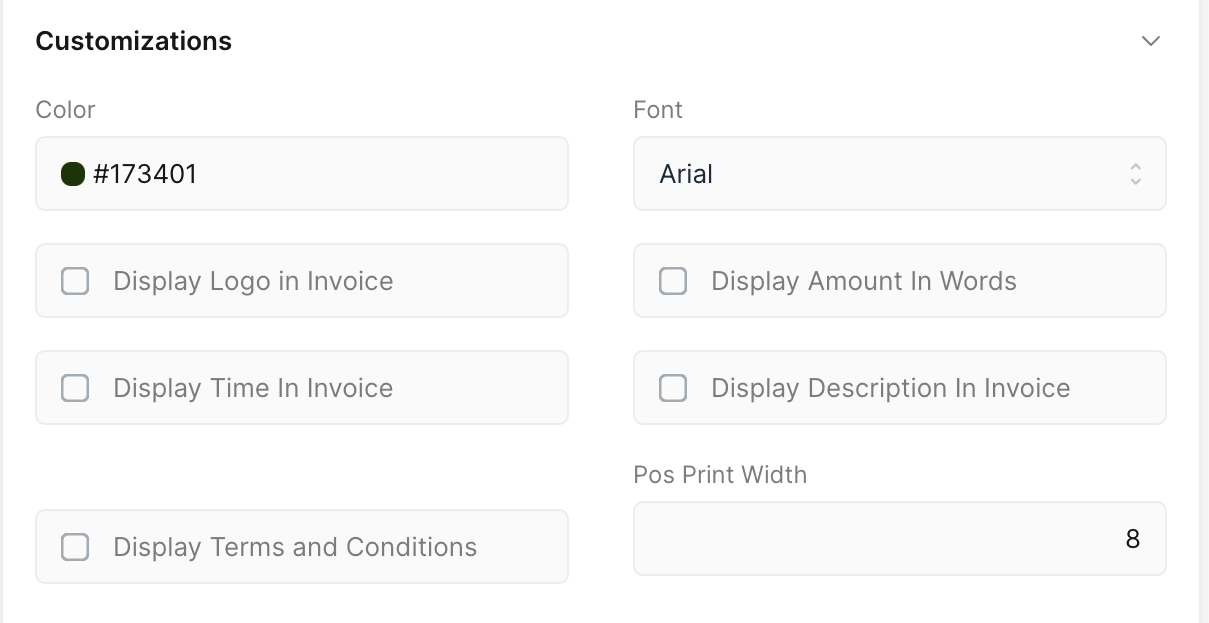
The Customizations block holds the display options — Color (the accent colour used for header bands and totals; the Saabi templates use forest green, #173401), Font, Display Logo in Invoice, Display Amount In Words, Display Time In Invoice, Display Description In Invoice, Display Terms and Conditions and Pos Print Width. Each is described in Chapter 52.
Tip
You can reach these same settings from the ··· menu in the print view, which lets you change a colour or switch on the logo while looking at the document it affects.
Building your own template
Click + on the Print Templates list to open the template builder, or open a built-in template and duplicate it. Working from a duplicate is the easier path: you can change one thing at a time and watch what happens in the preview.
- Click the edit button next to Save as PDF to turn on edit mode.
- Set the Template Type — the kind of entry the template is for. Sales Invoice is selected by default.
- Choose the entry shown in the preview. SAABI starts with the most recent entry of that type.
- Edit the template in the left-hand pane.
- Apply your changes by clicking outside the editor, or by pressing
⌃ Returnon macOS orCtrl Enteron Windows and Linux. - Click Save when the preview looks right.
The Set Print Size option in the ··· menu changes the page size the template is drawn at, which matters for receipts and for anything that is not a standard sheet of paper.
Displaying values
A template is HTML with values dropped into it. You name a value inside double curly braces, and SAABI replaces it with the value from the entry being printed:
<h1>{{ doc.name }}</h1>
Here doc.name is the invoice number, printed inside an h1 element. There are two sets of keys:
doc— values from the entry itself, such as the invoice number, the party, the date and the item rows. Which keys exist depends on the entry type.print— values from the print settings above, such as the logo, the email address and the colour.
The editor autocompletes keys as you type, and the Key Hints section below the editor lists every key available for the entry type you have chosen.
Styling
Style the template with inline CSS styles, or with utility classes on the elements. You can drag the border of the editor pane to give yourself more room while you work.
Important
Save your template before leaving the builder. The preview redraws from unsaved changes, but only what you have saved is used when you print.
Saabi Desktop User Manual 1.0 · covers Desktop 1.0.0 · Something wrong or missing? Tell us